How to Create a Meme Coin?
Learn how to create a meme coin by choosing a chain and launch route, setting supply and permissions, planning trading, and publishing one official address.

Creating a meme coin means issuing a fungible token on a blockchain and preparing a clear path for people to find, verify, and trade it. Before launch, choose the chain and creation route, define the supply and permissions, decide how the initial supply is allocated, and decide where trading will start.
Creating the token only puts it on-chain; it does not create a trading market. A practical launch should reach three separate outcomes: the token is created, it can be traded, and its basic facts can be independently checked.
Want to create a Solana meme coin now? Use the SlerfTools Solana Token Creator and follow the Solana Token Creation Guide. This article explains the decisions to make before launch: chain, creation route, supply, permissions, distribution, and trading path.
What does “creating a meme coin” actually include?
A meme coin is usually not a separate technical standard. It is a fungible token whose identity and community are built around a meme, character, event, or shared idea.
On EVM-compatible networks, many fungible tokens use the ERC-20 interface. ERC-20 defines common functions such as checking supply and balances, transferring tokens, and approving spending. On Solana, a token is identified by a mint managed by a Token Program. The Solana token documentation explains how a mint records supply, decimal precision, mint authority, and freeze authority.
Those standards explain how a token works on-chain. They do not create a community or a liquid market. It helps to separate the launch into three layers:
| Layer | What it means |
|---|---|
| Created | The token or mint exists on-chain, and the intended supply has been issued. |
| Tradable | Buyers and sellers have a working route, such as a launchpad market or a decentralized exchange pool. |
| Verifiable | Users can confirm the official address, supply, permissions, major allocations, and trading venue. |
How to create a meme coin in six steps
1. Define the concept and choose the chain
An on-chain token does not create the meme or the audience. First define the idea, name, ticker, visual identity, and the community it is meant for. Then choose a chain based on where those users already are, which wallets and exchanges they use, and which token features the project needs. There is no universally best chain.
Budget for more than the creation transaction. Liquidity, testing, distribution, metadata, a website, and security work all add costs. If you choose Solana, this Solana meme token launch cost breakdown explains the main cost categories.
2. Choose a creation route
Launchpad rules vary. Raydium LaunchLab, for example, trades on a bonding curve and moves the collected reserves into a constant-product pool after its graduation threshold is reached.
Choose the route that matches the control you need:
| Route | Best suited to | Main trade-off |
|---|---|---|
| Launchpad | A fast launch under the platform’s preset issuance and trading rules | The rules and any later market migration vary by platform. |
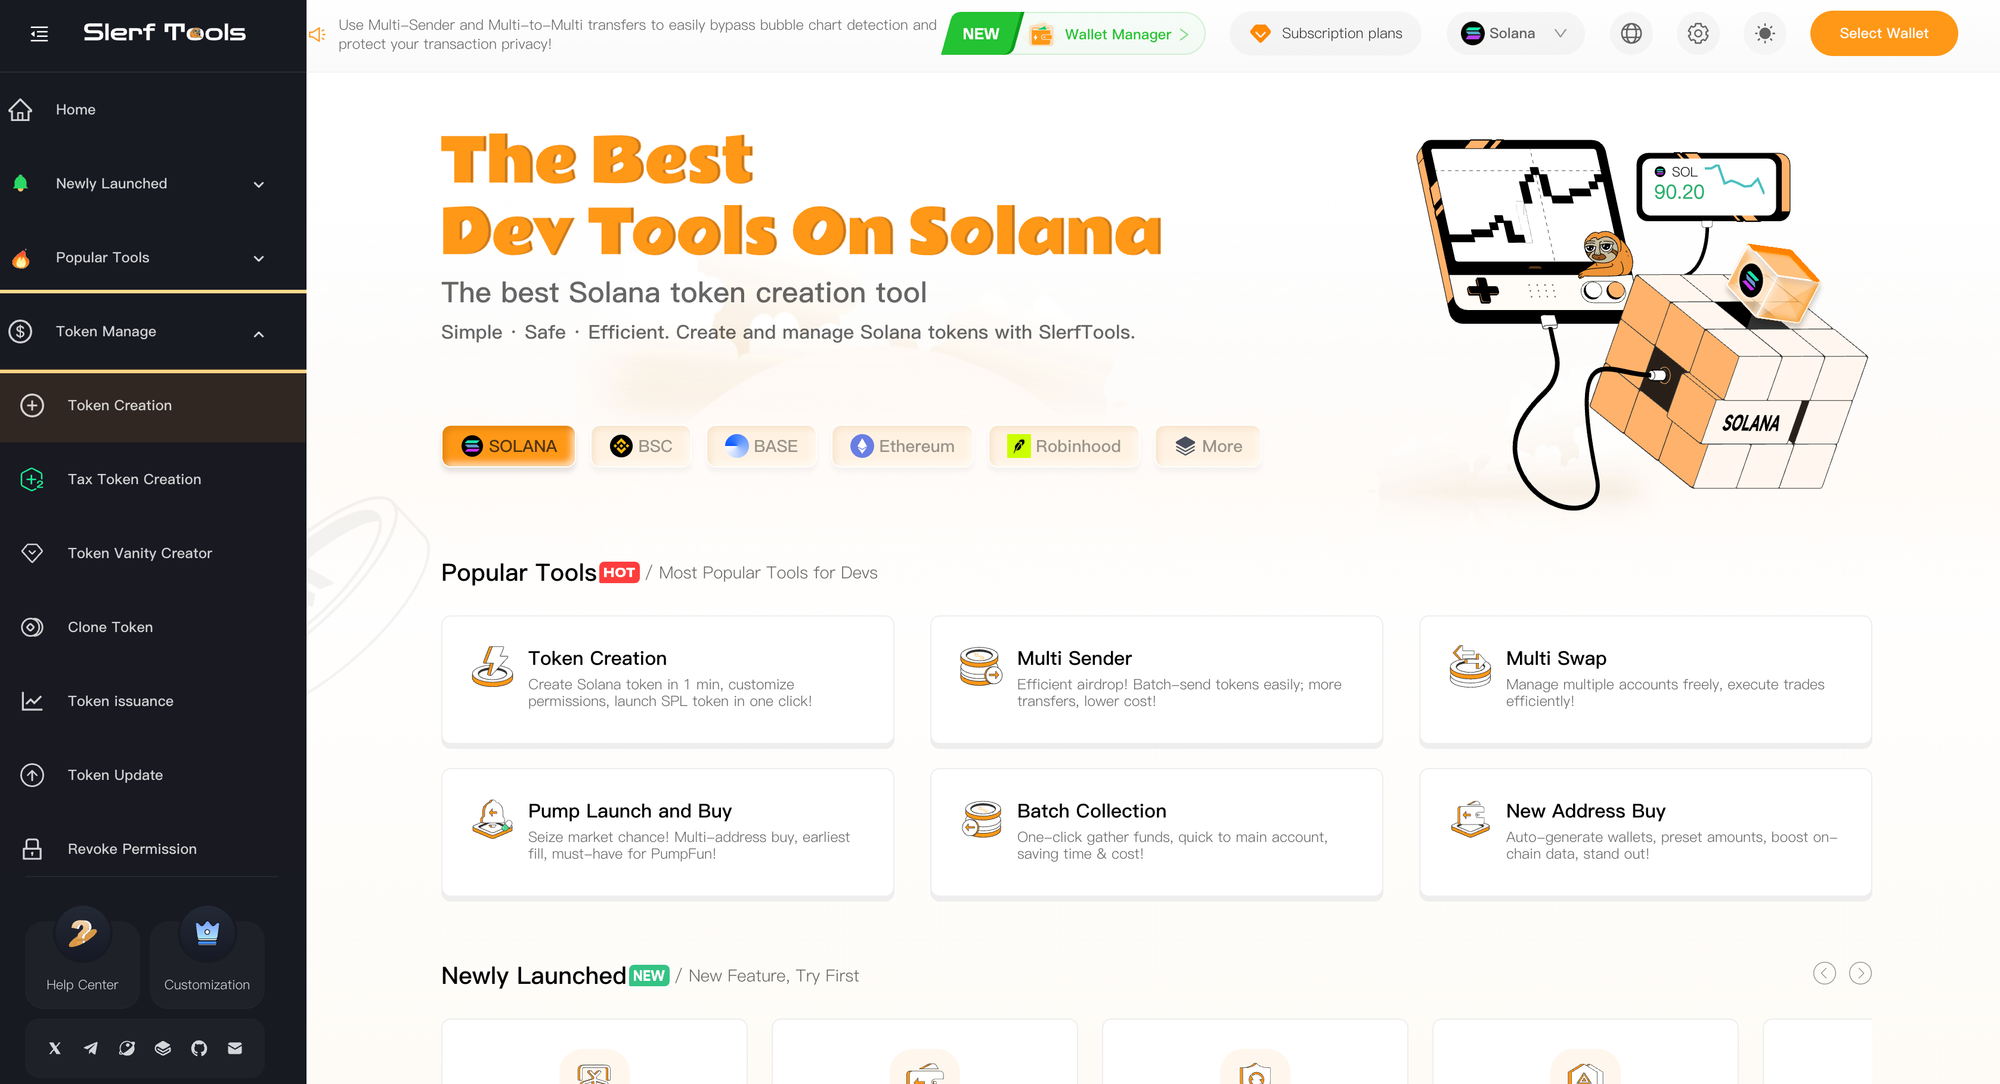
| No-code token creator, such as SlerfTools | A standard token with creator-controlled settings | It creates the token but does not create a trading market. |
| Custom contract or program | A token that genuinely needs custom behavior | Development, testing, and security review become part of the launch. |
Custom code is not automatically better. An ERC-20 library such as OpenZeppelin Contracts can provide a base implementation, but the creator still defines the supply and any extra controls.
3. Set the identity, supply, and allocation
Turn the concept into final token information, then write down:
- the token name, symbol, description, and official image;
- the total supply and display precision;
- how much goes to liquidity, community distribution, the team, the treasury, and future incentives;
- whether more tokens can be created later;
- which wallet controls each allocation and when those tokens can move.
A large supply does not make a token cheap, and a small supply does not make it valuable. Keep an allocation sheet and make sure the team can explain where the initial supply goes and whether more tokens can be issued.
4. Decide which permissions remain after launch
Token permissions vary by chain and creation route. A custom EVM contract may include owner, minting, pausing, or other roles, depending on its code. On Solana, the mint authority can issue more units, while the freeze authority can freeze token accounts.
Do not treat “revoke every permission” as a universal rule. Decide what the controlling wallet still needs to do, who controls it, and whether users can verify the final state.
5. Decide where trading will start
Creating the token does not make it tradable. The two common paths work differently:
- Launchpad and bonding curve: the platform sets the initial trading and pricing rules. Whether and when liquidity moves to a DEX pool depends on the platform.
- Independent token and DEX pool: the token is created first; the creator then chooses the trading pair, initial liquidity, and who controls the liquidity position.
Use a launchpad when its preset rules fit the project. Create the token separately when you want to choose the trading pair, initial liquidity, and who controls the liquidity position.
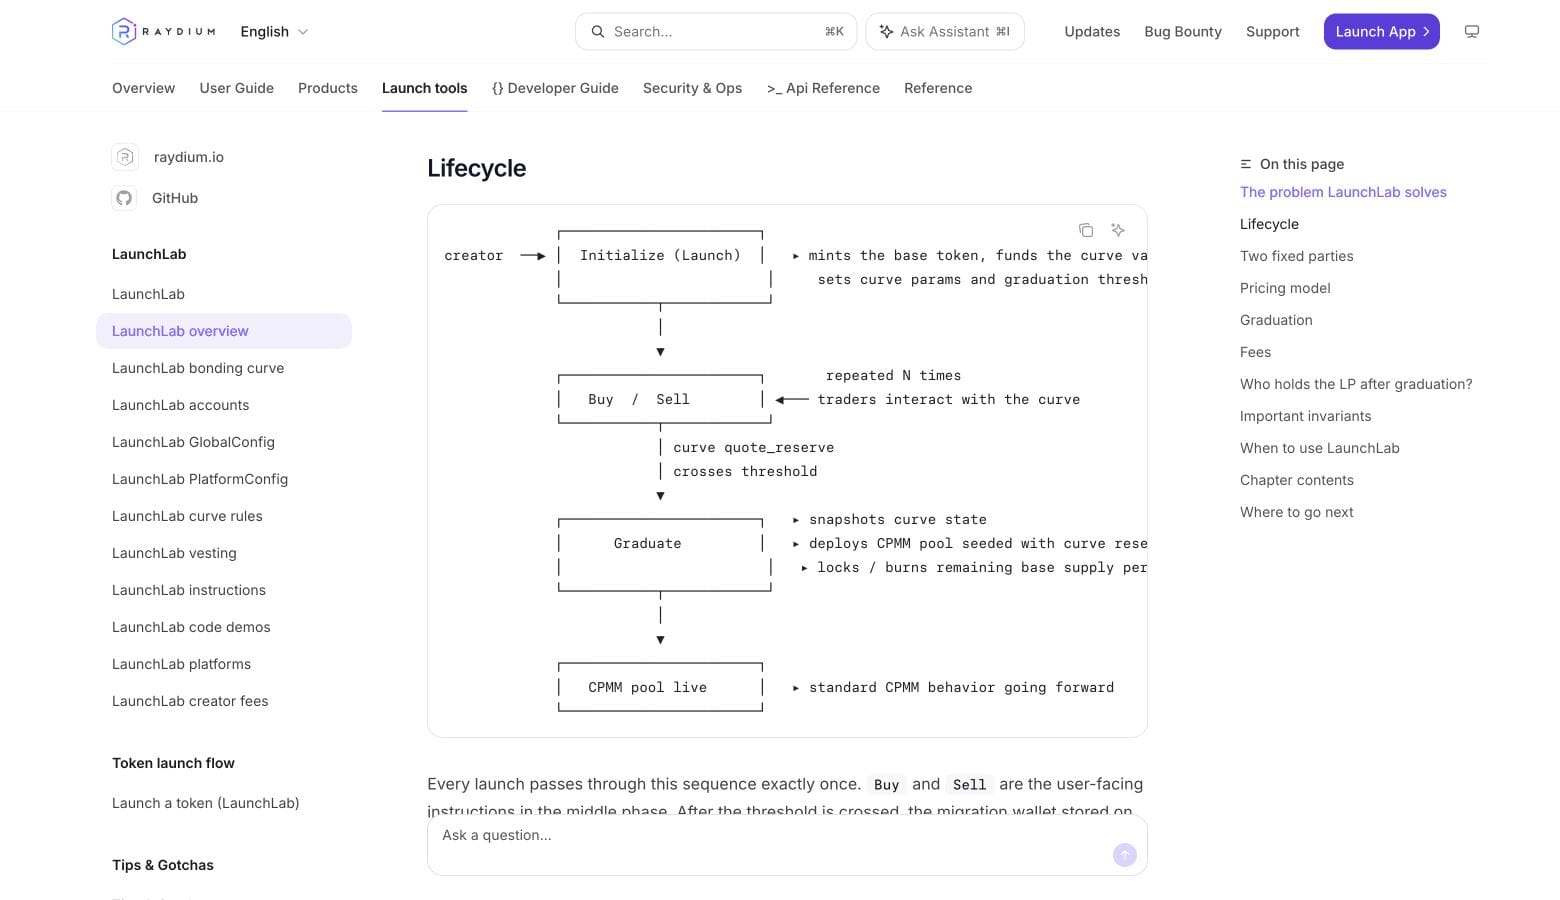
Before launch, confirm the first trading venue, trading pair, initial liquidity, who controls the liquidity position, and the official market address users should verify.
6. Create, verify, and publish one official address
After creation, check the token or contract address, supply, permissions, and metadata. Test how the token appears in the wallets and explorers your users will use.
Anyone can create another token with the same name and ticker. Publish and pin one official token or contract address; do not rely on the name or symbol alone.
This article is for general information only. It does not provide legal, investment, or financial advice, and creating a token does not guarantee demand, liquidity, exchange support, or commercial success.
About SlerfTools
SlerfTools is a multi-chain Web3 toolkit supporting Solana, BNB Chain (BSC), Base, Ethereum, Robinhood Chain, and other supported EVM-compatible networks. It provides tools for common on-chain workflows, including token management, liquidity management, wallet operations, batch transfers, and batch transaction execution. SlerfTools is designed to help teams work more efficiently while retaining control of wallet access and transaction approvals.